ArticleShareFiles.png
ProjectShareFiles.png
DMIProjectFolders.png
DMIProjectFolders.png
DMIProjectFolders.png
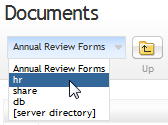
PathSelector.png
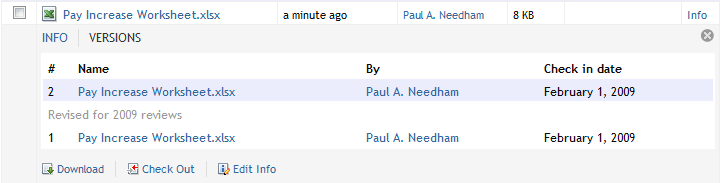
InfoView.png
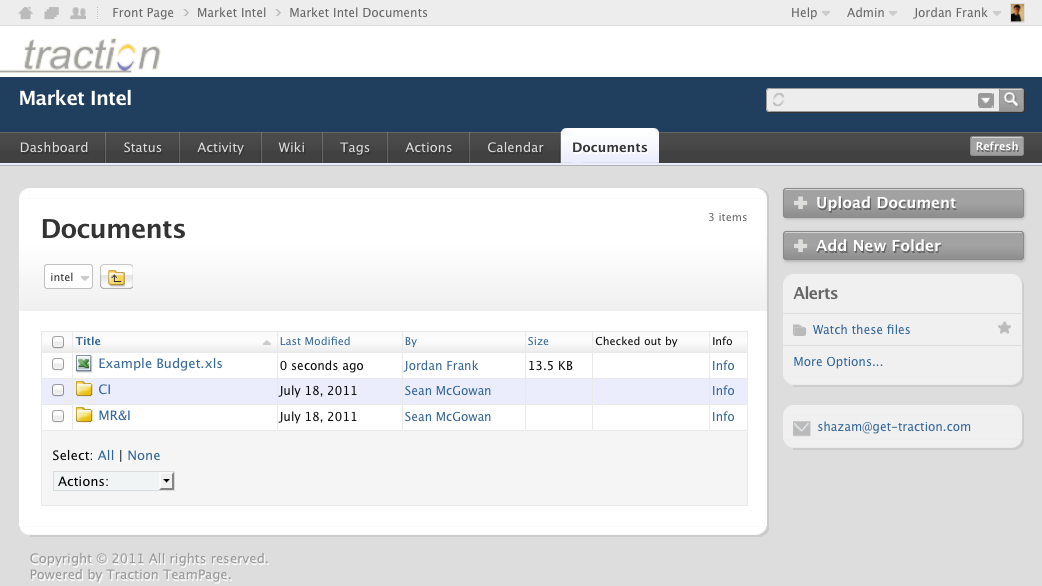
AddNewFolder.png
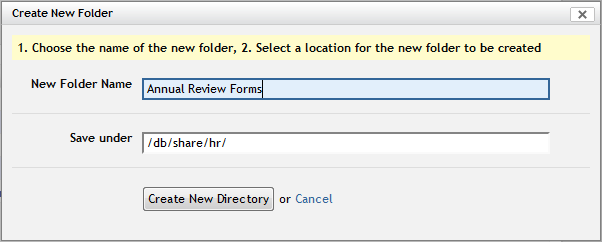
NewFolderForm.png
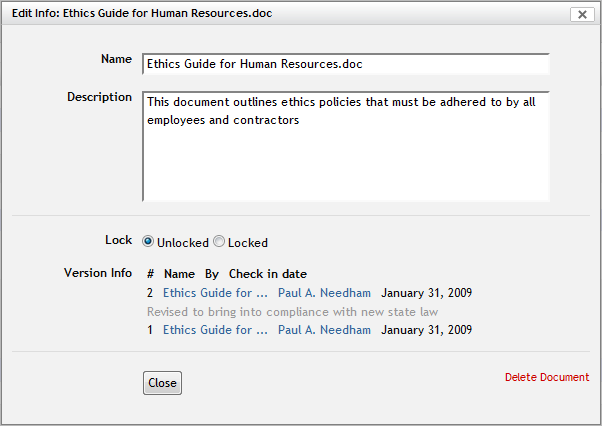
EditInfo.png
ReplaceForm.png
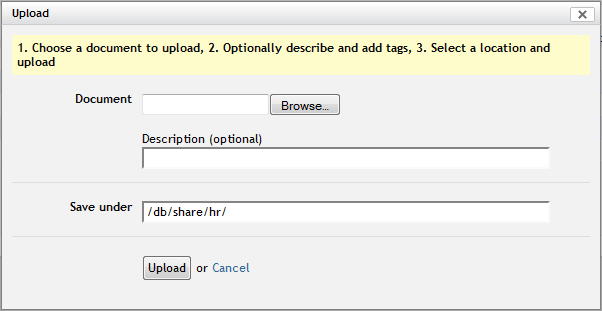
UploadView.png
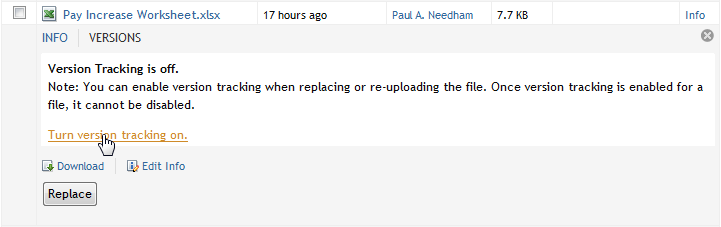
TurnonVersionTracking.png
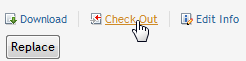
CheckOut.png
CheckOutView.png
CheckedInView.png
LockRadioButton.png
LockedIcon.png
ActionsDelete.png
NewFolderForm.png
WebFolderLink.png
WebFolderIcon.png
PathSelector.png
OfficeFileEdit.png
DocFolder.png