image131.gif
image177.gif
image57.gif
image58.gif
image6.jpg
image178.gif
image179.gif
image171.gif
image172.gif
image173.gif
image8.jpg
image134.gif
image728.jpg
image729.jpg
image132.gif
image133.gif
image73.jpg
image730.jpg
image731.jpg
image808.gif
image732.jpg
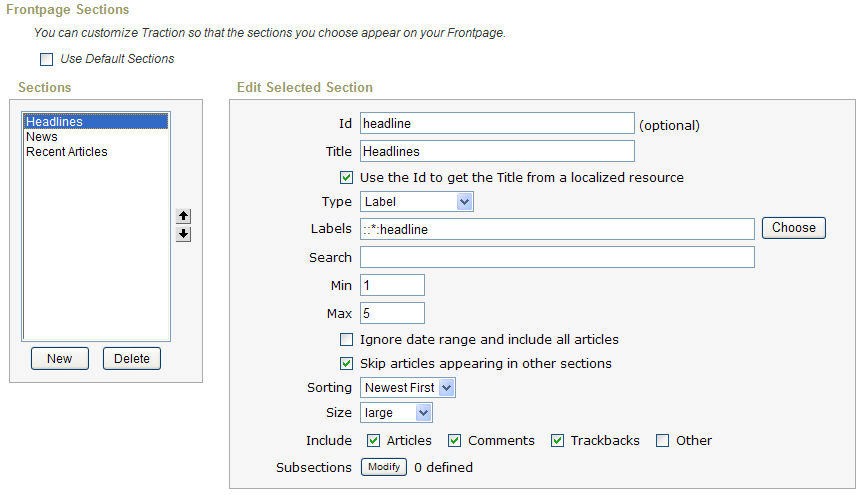
EditSelectedSectionHeadline.png
EditSectionsHeadlines.png
SortingLabel.png
SortingLabel.gif
DefaultProjectSections.gif
TypeMenu.gif
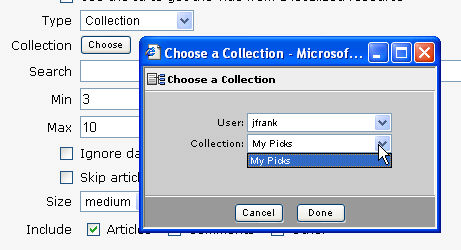
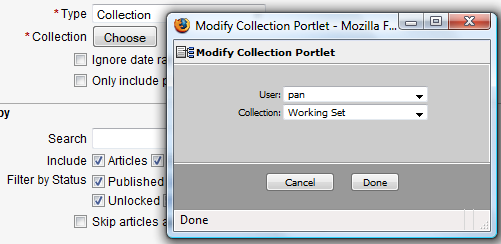
CollectionSelection.png
FrontpageSectionsCheckbox.gif
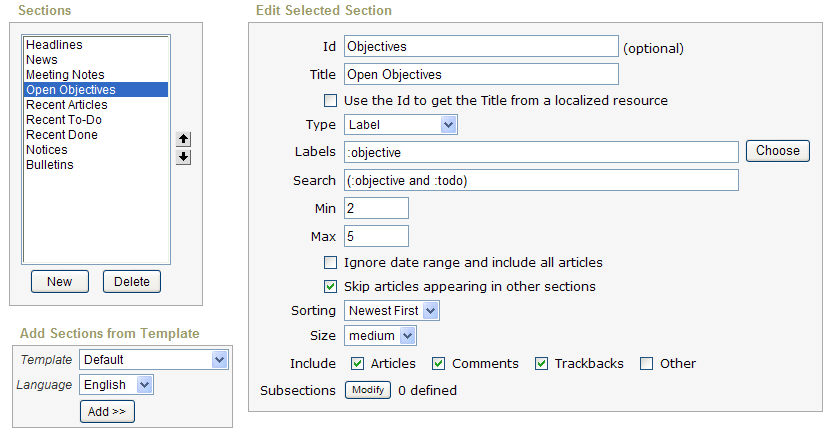
ProjectOpenObjectives.png
FilterNotificationsUsingSections.gif
SubscriptionQueries.gif
DigestHeadlineNews.gif
DigestStyleSelector.gif
GroupbyActivity.gif
AddArticleLink.gif
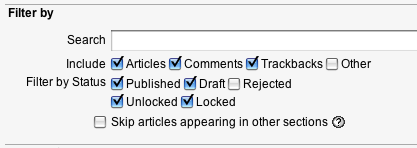
filterby.png
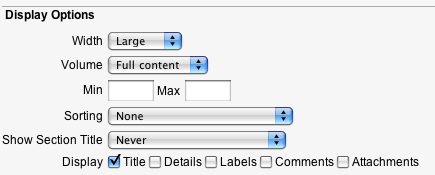
Display Options.png
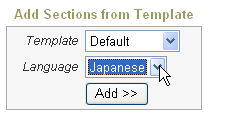
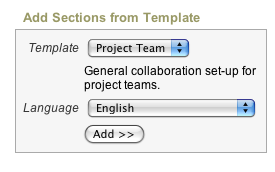
AddSectionsFromTemplate.png