image925.gif
image928.gif
image929.gif
image948.jpg
image926.gif
image949.jpg
image1007.jpg
image945.gif
image959.jpg
image964.jpg
image961.jpg
image962.jpg
image963.jpg
image946.gif
image966.jpg
image968.jpg
image969.jpg
image970.jpg
image971.jpg
image972.jpg
image396.jpg
image973.jpg
image947.gif
image974.jpg
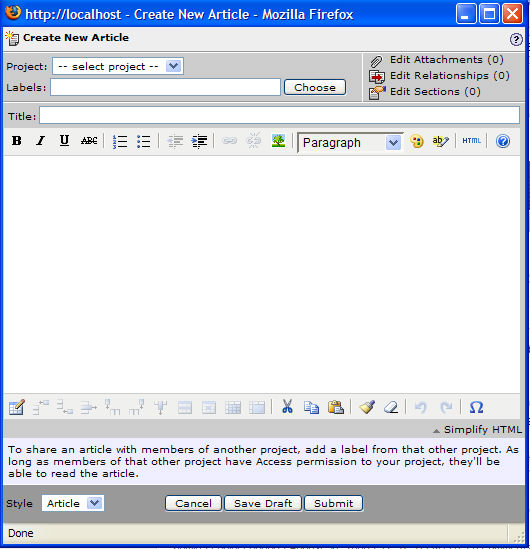
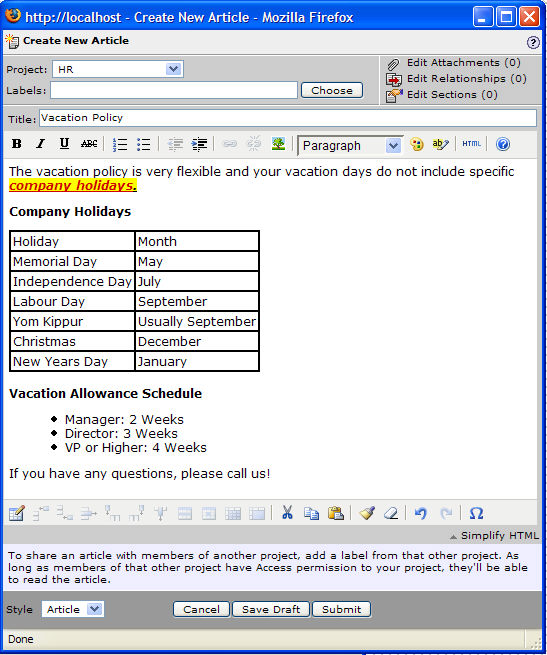
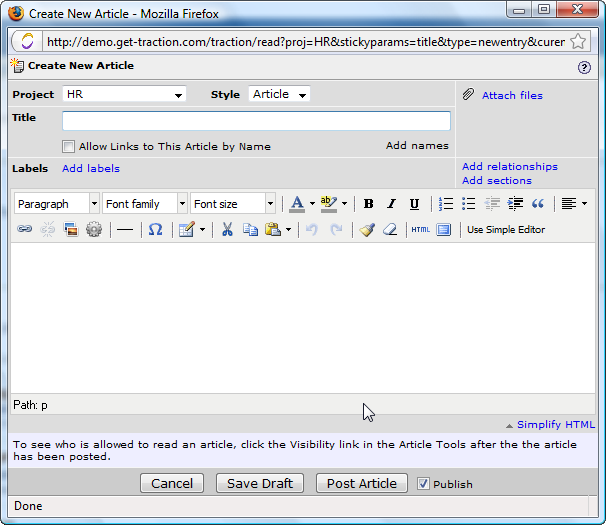
CreateNewArticle.png
ArticleToEdit.png
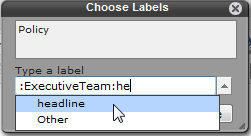
ArticleEdit.png
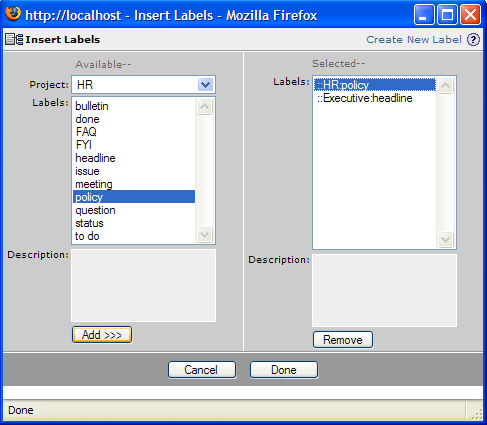
ChangeLabels.png
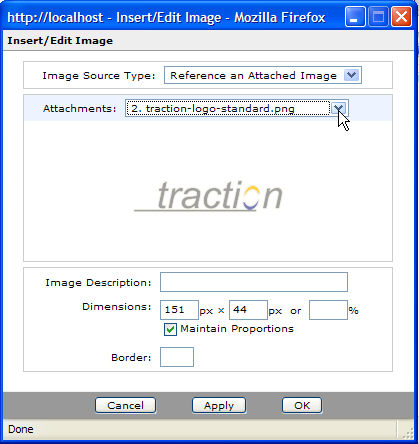
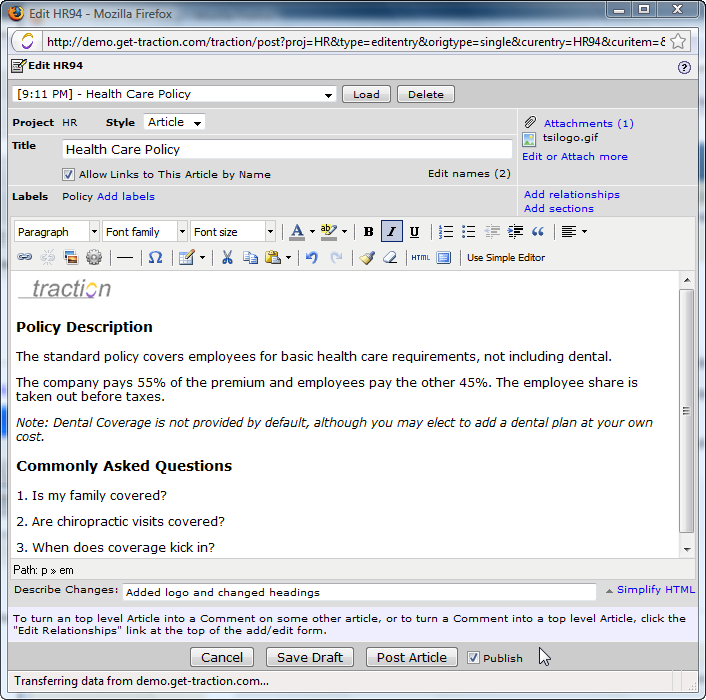
AttachmentLink.png
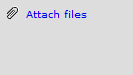
InsertEditImage.png
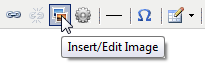
ChooseLabelsHeadline.png
LabelsinArticleEditor.png