Download
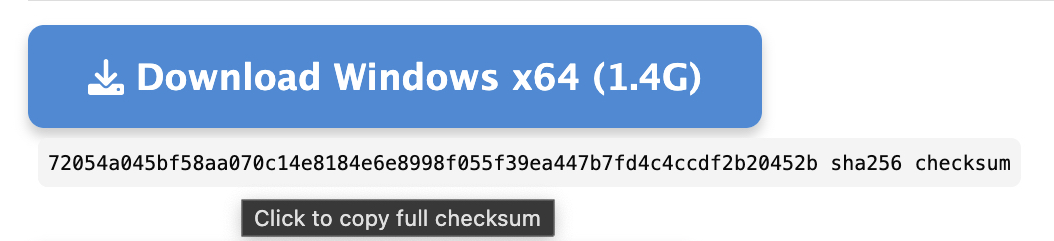
On the TeamPage installer download site, click the "Download Windows x64" button to download the installer.
Verify the File Integrity (Optional)
The SHA-256 checksum appears beneath the download button. Put your mouse over it to show the full value and copy it to your clipboard.
When the download completes, if you have PowerShell installed, you can open a PowerShell command prompt and use the Get-FileHash command to verify that the signature matches the expected value. (At the time of writing, the default algorithm for Get-FileHash is SHA-256. If this changes, you may have to modify the command to specify SHA-256.
PS C:\Users\Administrator\Downloads> (Get-FileHash ./traction7011.exe).Hash -eq "72054a045bf58aa070c14e8184e6e8998f055f39ea447b7fd4c4ccdf2b20452b"
True
Note on Running the Installer
Consider running the installer as administrator (right click on the installer and choose "Run as Administrator.
Installer Steps
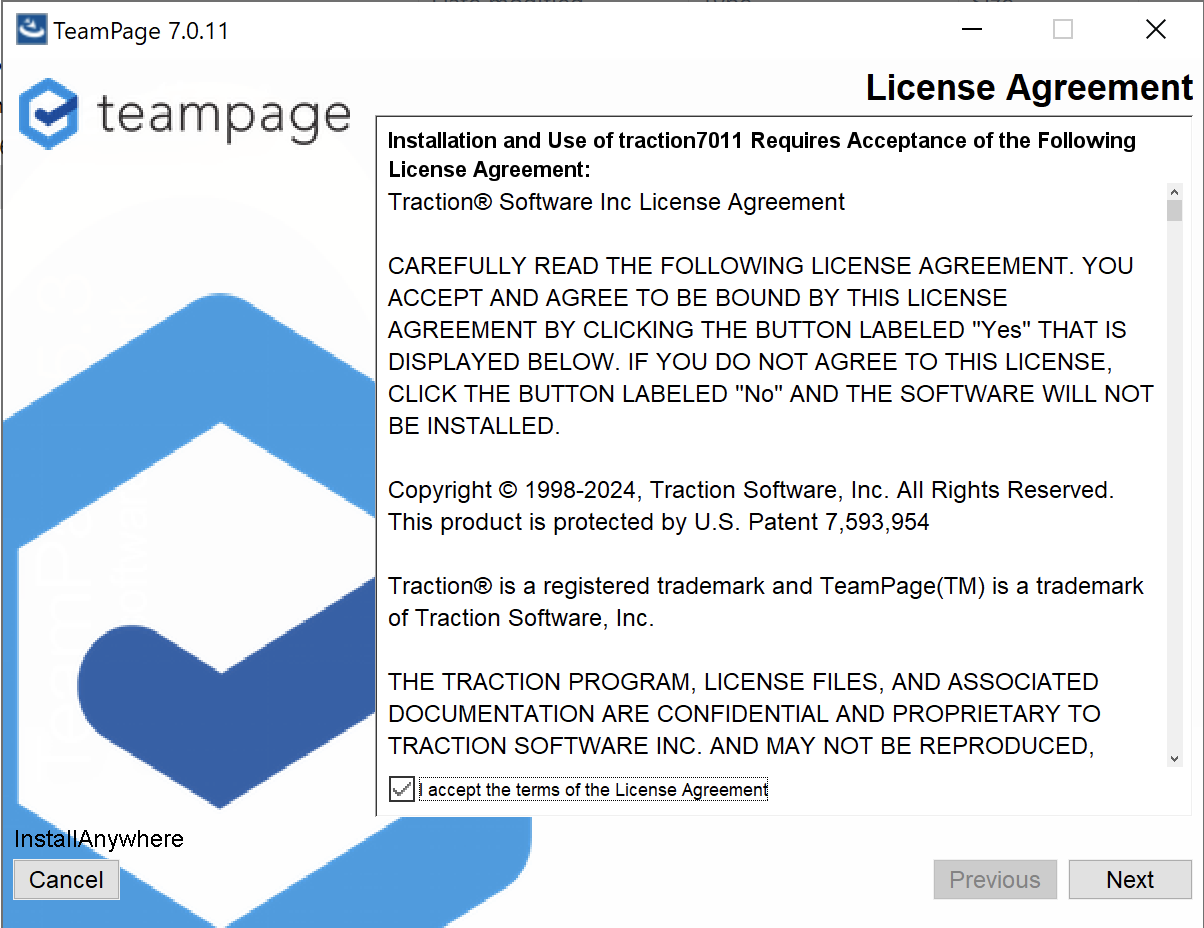
First, please read the license agreement. Check the checkbox to accept the agreement, and click "Next" to proceed to the next step.
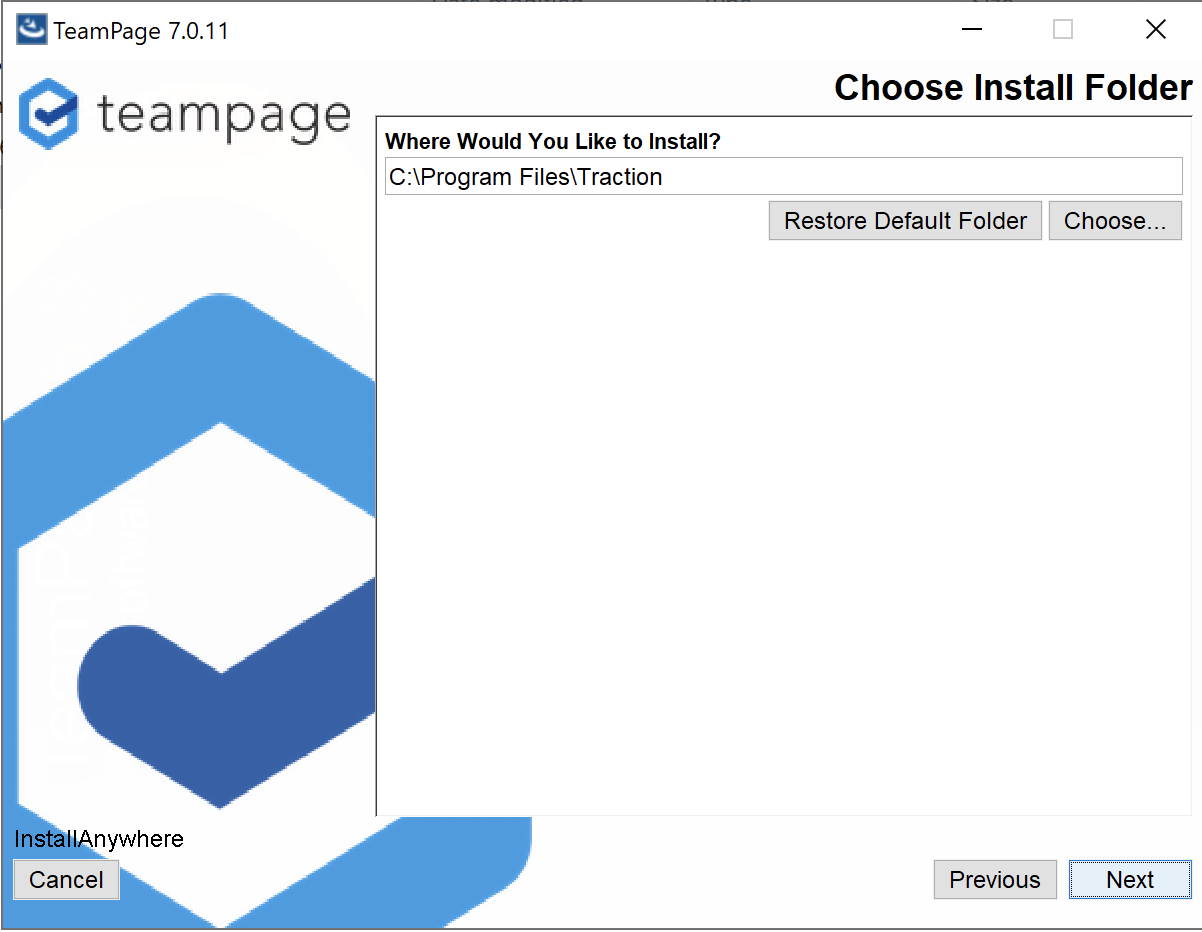
Choose your desired installation location. (The default will be C:\Program Files\Traction.
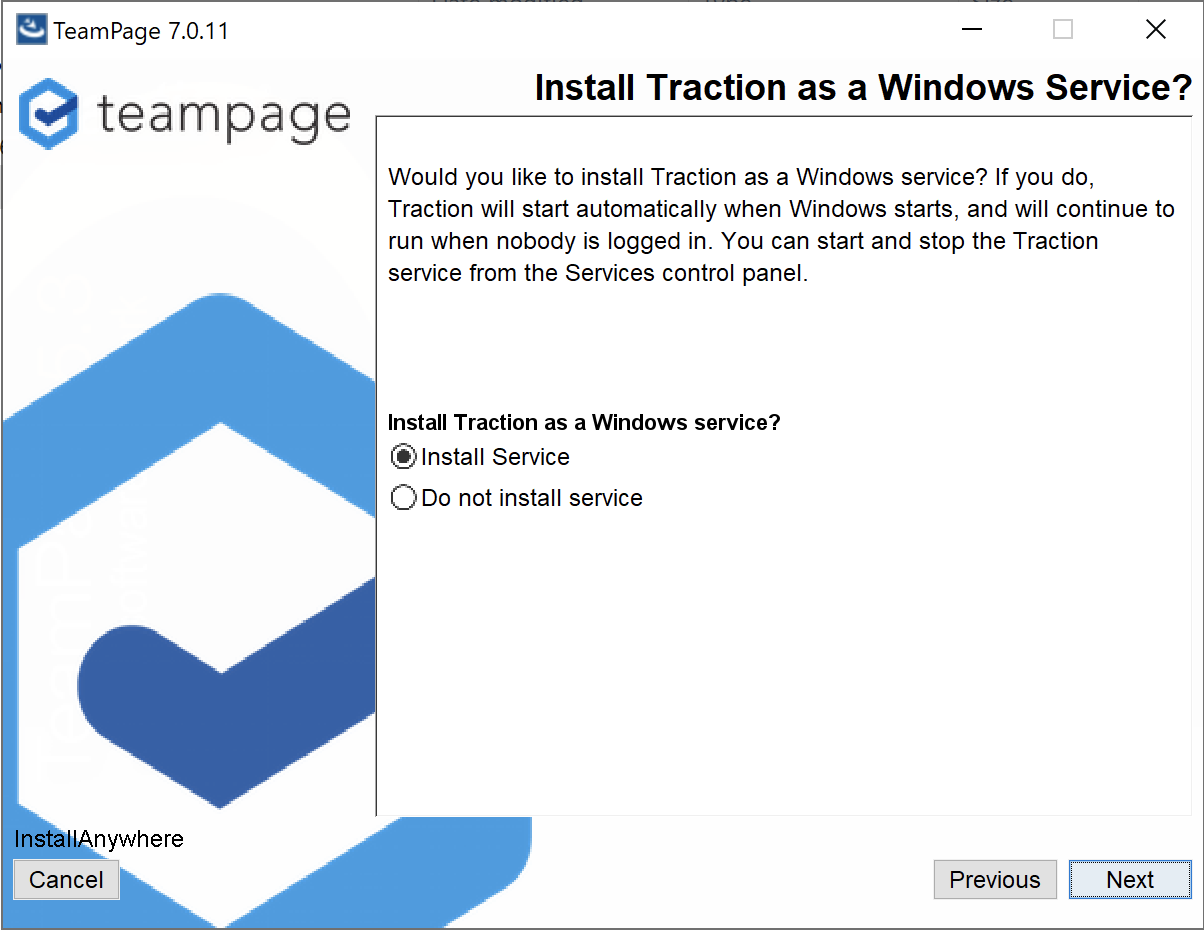
Next, choose whether to install a Windows Service for TeamPage. In most cases, Windows needs to run as a service so that it runs regardless of whether a user is logged in to run it, and so that it can easily be automatically started and stopped along with the host server. Then press "Next".
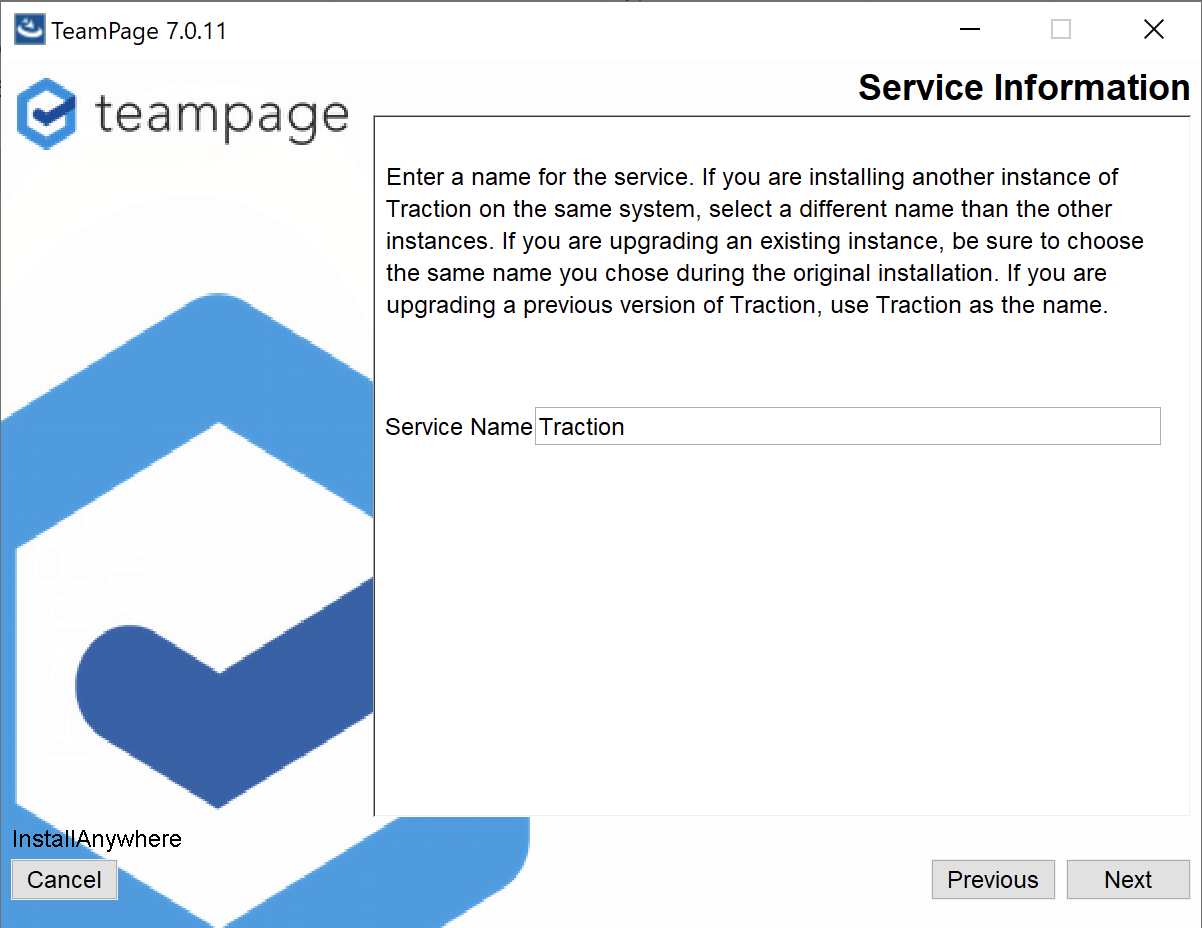
If you choose to install a service, choose a display name, or accept the default service display name. (If you're installing multiple TeamPage instances on the same host machine, you must choose a unique service name for each one.
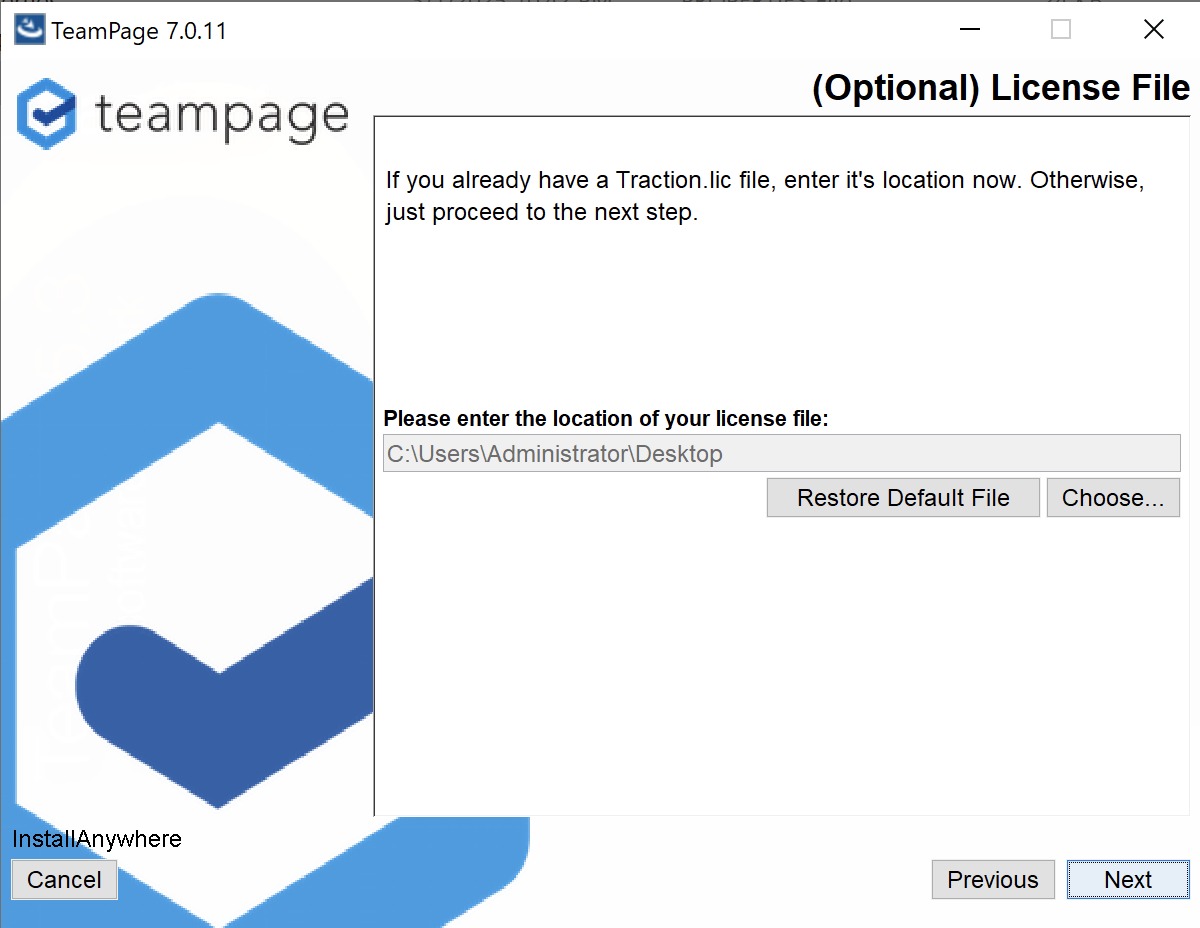
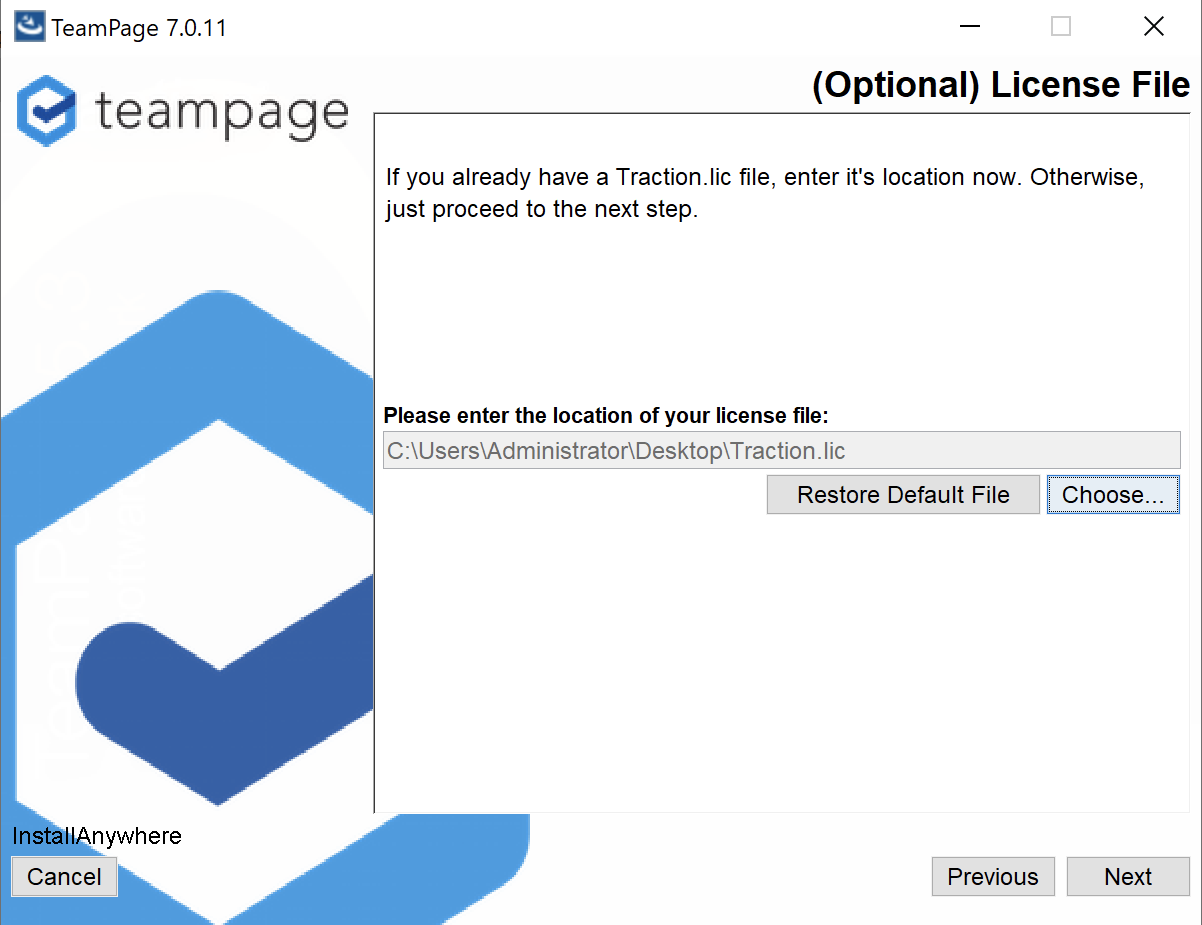
If you have the Traction.
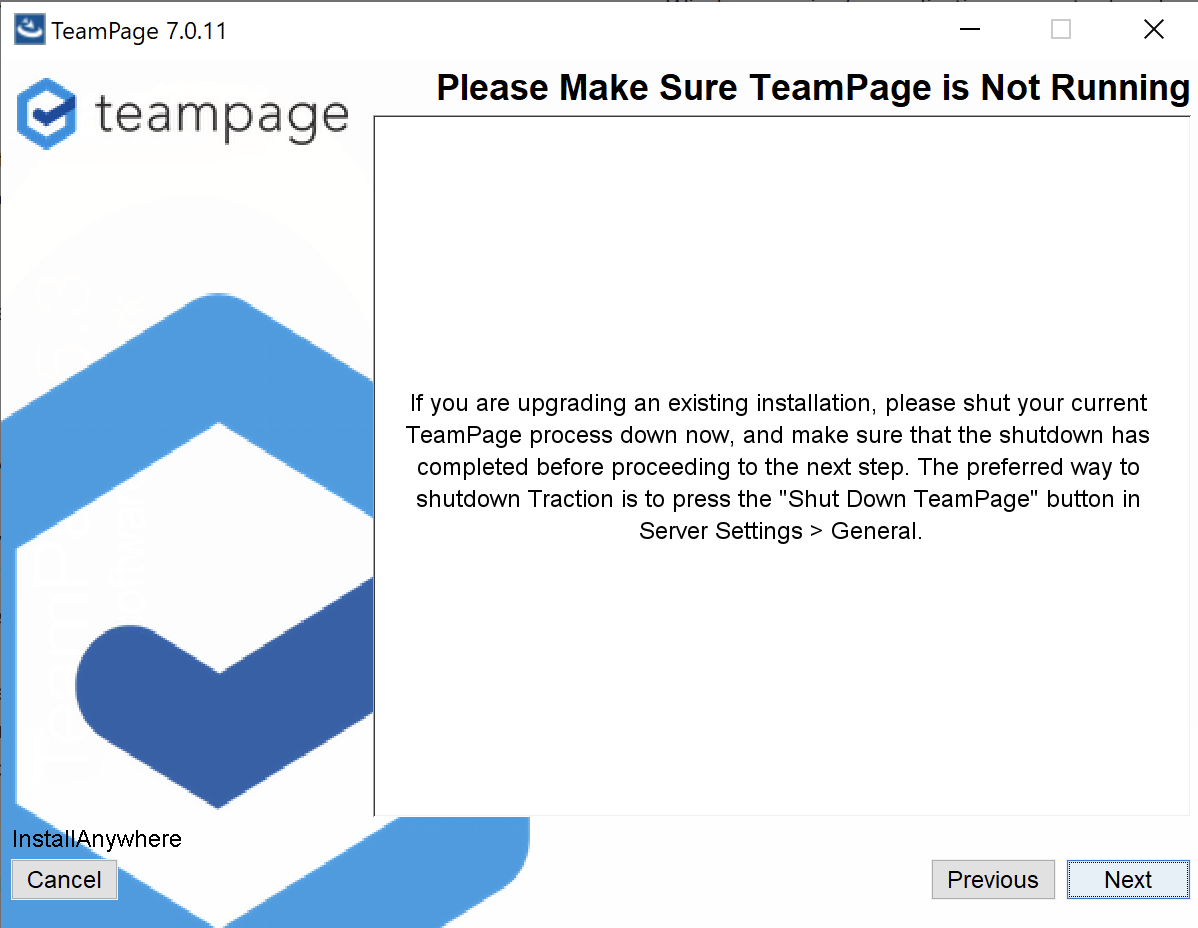
If you're updating an existing installation, you will be prompted to ensure that the existing installation is not running. If you don't shut down the existing TeamPage service process, some of TeamPage's application files may remain open, which will prevent them from being updated. If you need to shut down your existing TeamPage service, do so. If necessary, ensure the Java processes exit by examining the Task Manager. Then press "Next".
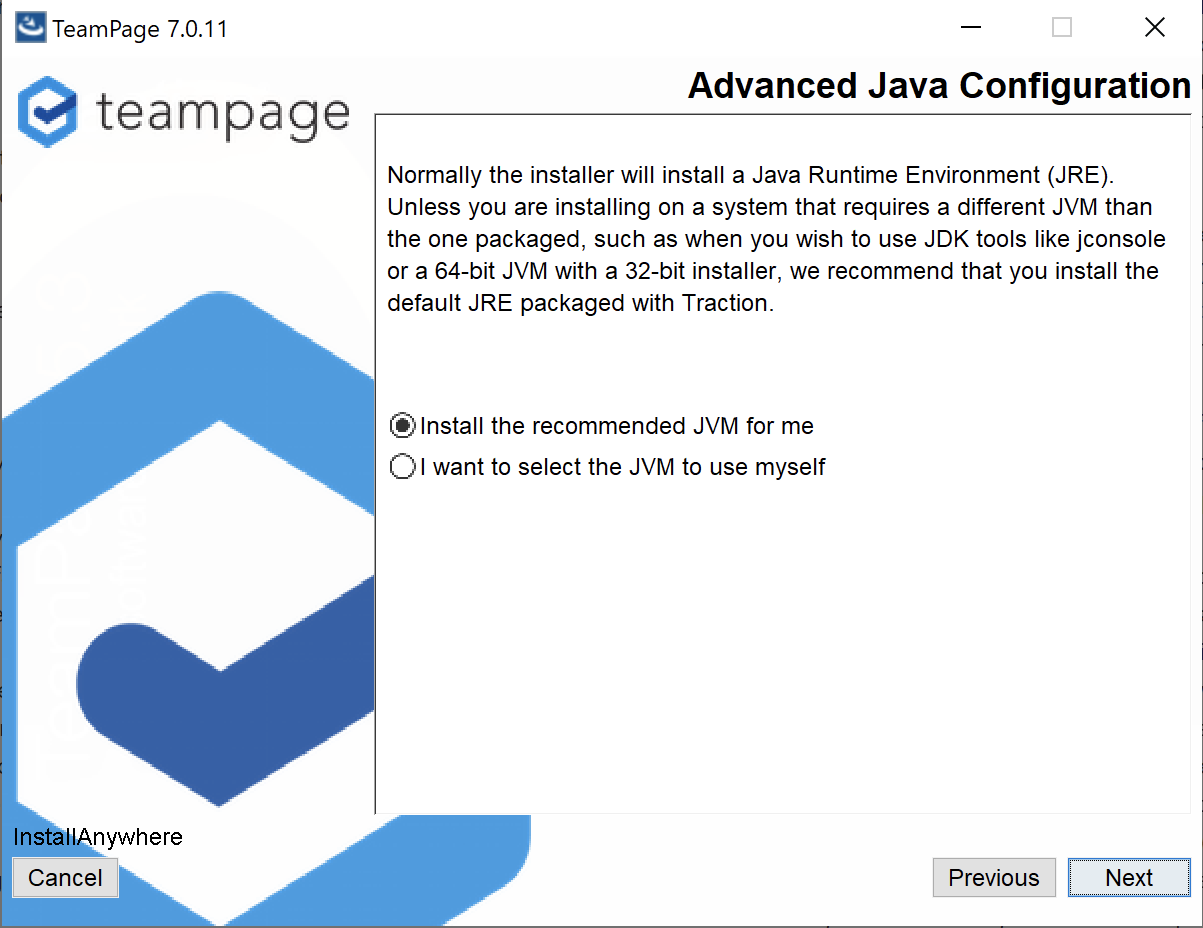
Next, you'll choose a Java Runtime Environment (JRE) / Java Virtual Machine (JVM). In almost all cases, you should choose the option to "Install the recommended JVM for me", which should already be selected. If you have been advised by Traction TeamPage support to use a different JRE/
Then review the pre-installation summary. If you're satisfied, click "Install" to proceed.
When this stage is complete, TeamPage is now installed.
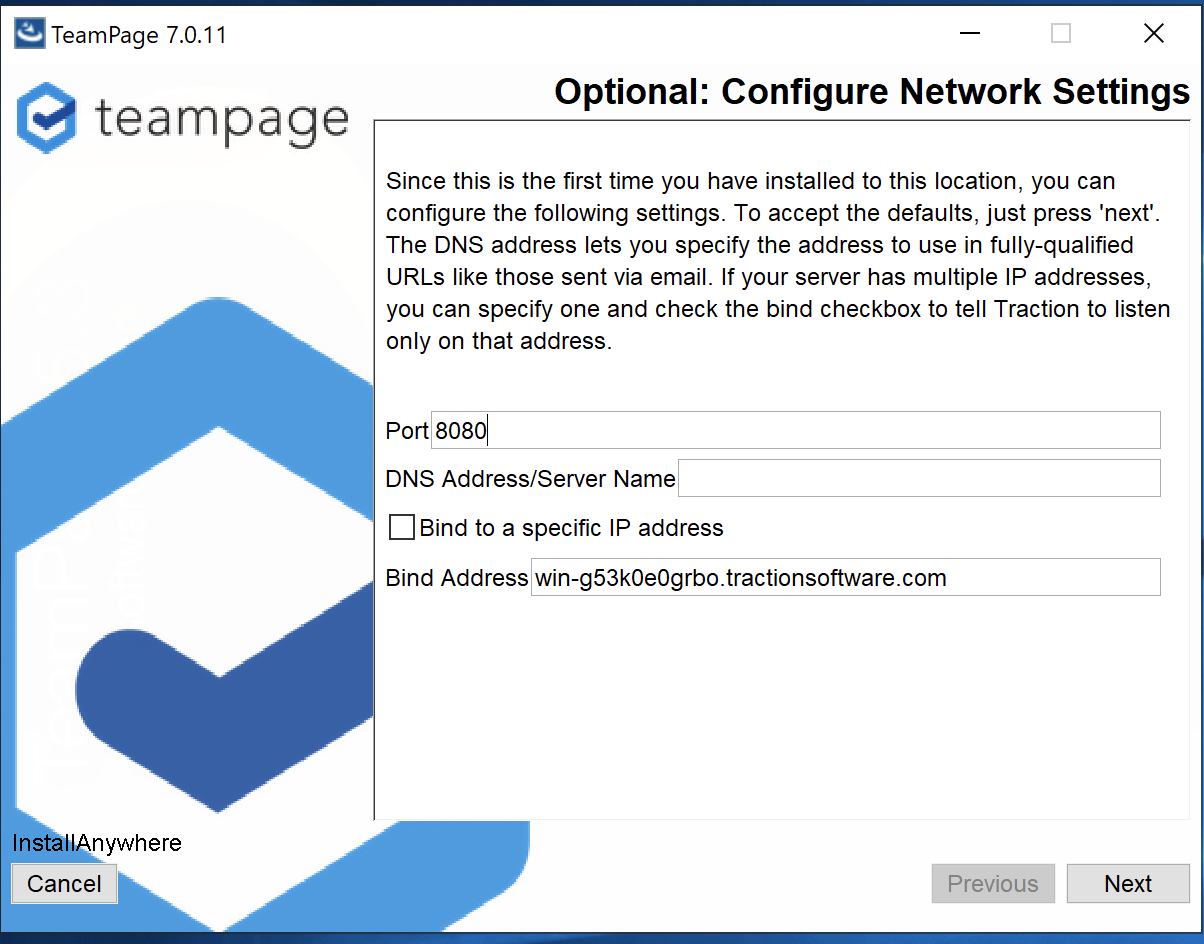
Network Configuration Options
If this is a new installation rather than an update, the installer will now offer you the option to configure some network settings. (You can also set or change these properties from within TeamPage's web-based setup and admin pages.
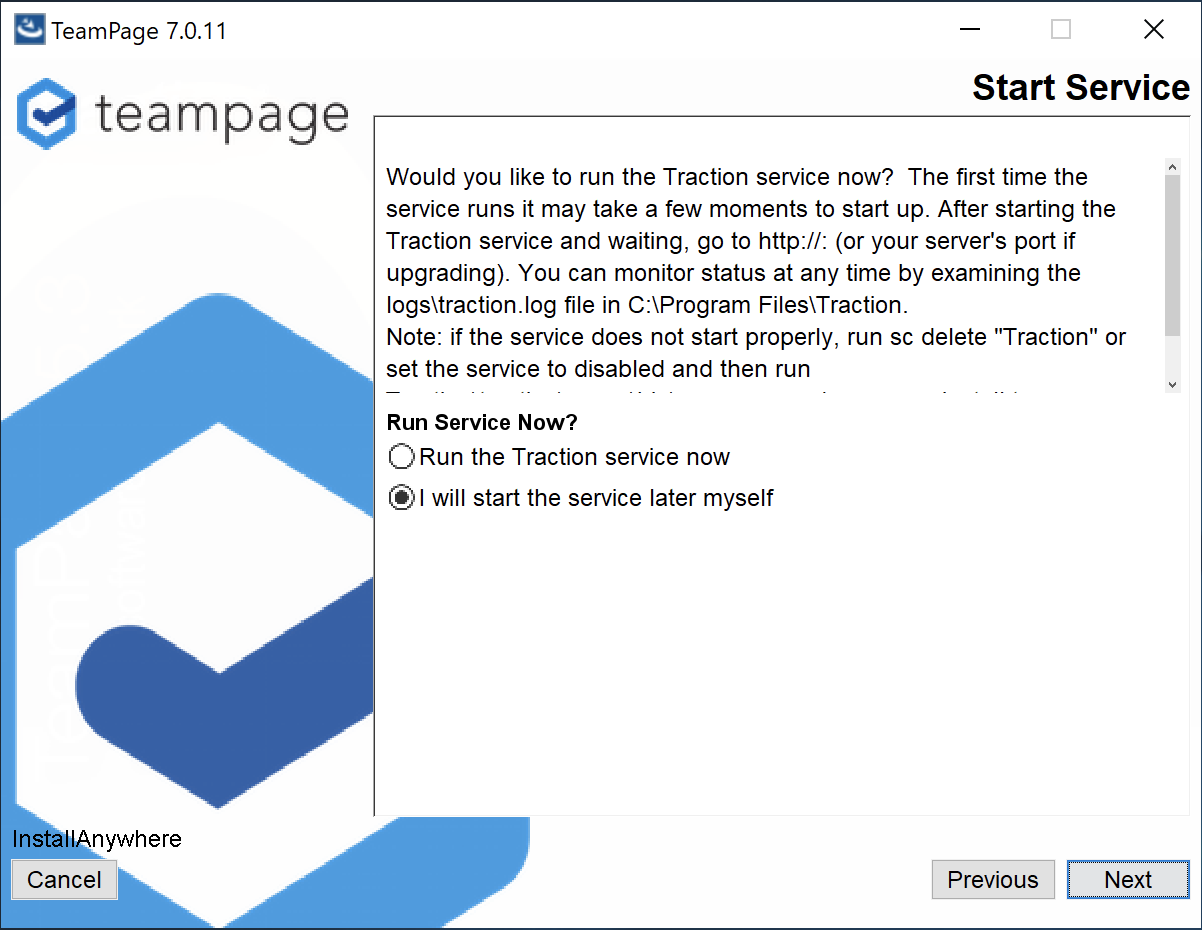
Start TeamPage
The installer offers you the option to start TeamPage now, or start it yourself later. Choose your preferred option and click "Next" to proceed.
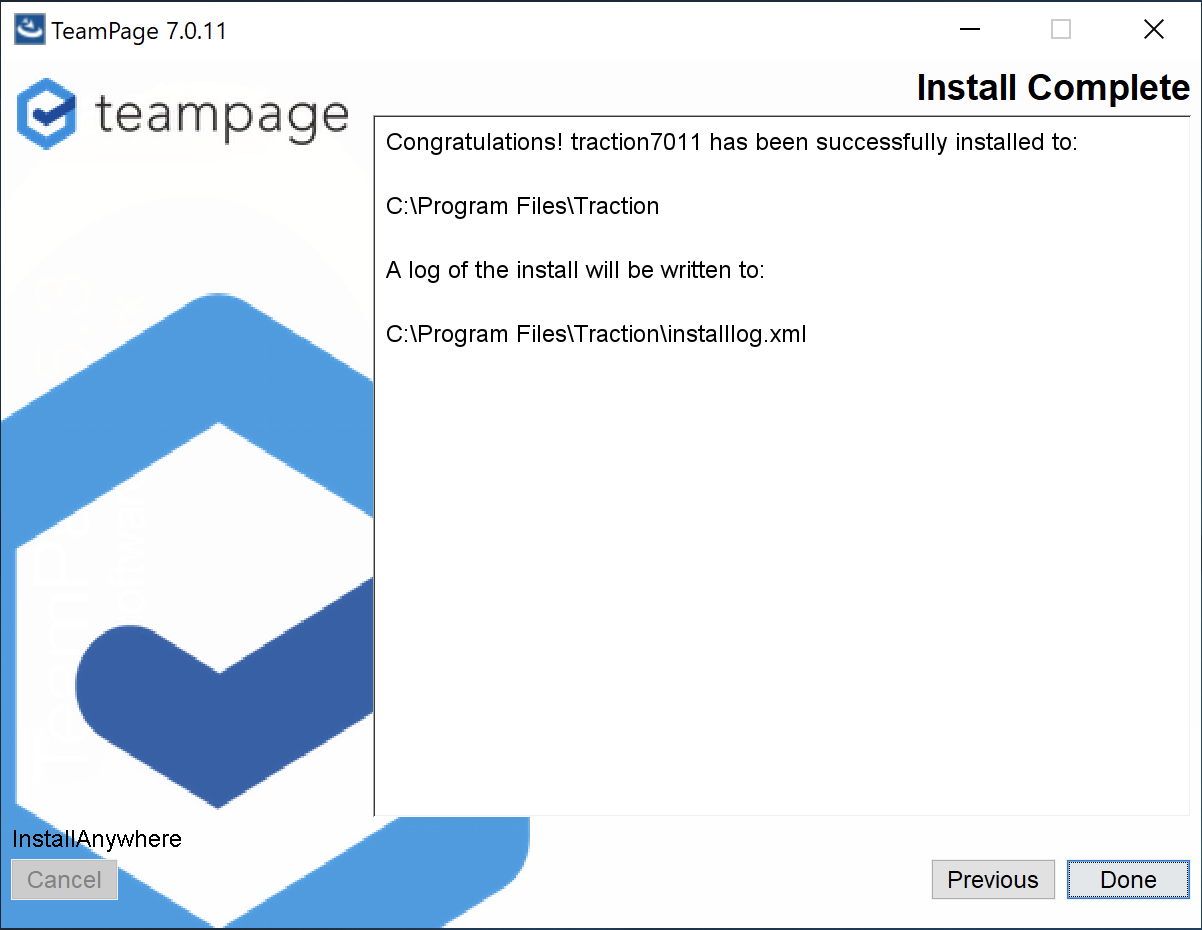
The installation process is complete.
Attachments:
download-link.png
checksum-copy.png
license-agreement.png
location.png
windows-service.png
windows-service-name.png
license-file.png
license-file.png
existing-service-prompt.png
jvm-selection.png
pre-installation-summary.png
network-settings.png
start.png
complete.png
Article: Doc1959 (permalink)
Date: March 2, 2025; 2:21:58 AM Eastern Standard Time
Author Name: Dave Shepperton
Author ID: shep
Date: March 2, 2025; 2:21:58 AM Eastern Standard Time
Author Name: Dave Shepperton
Author ID: shep