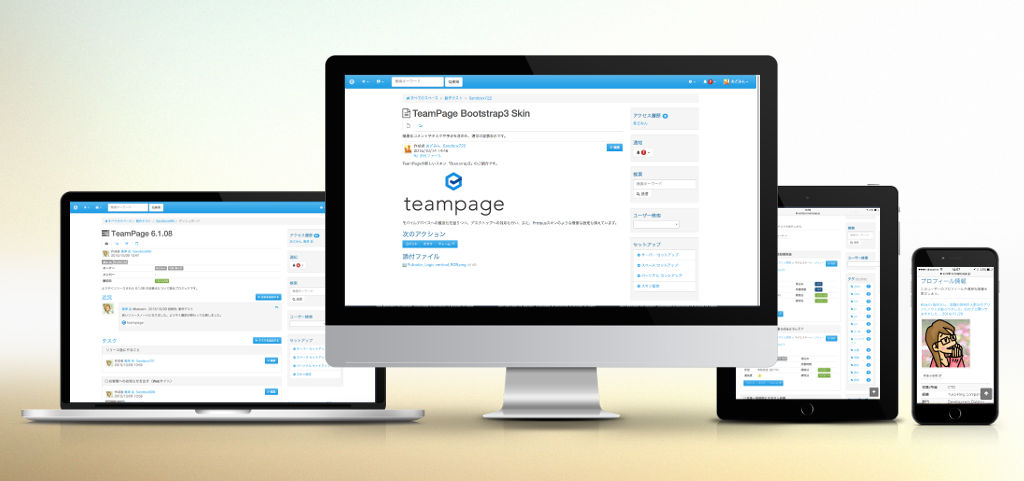
/skin bootstrap3 and press Enter key.bootstrap_mockup_image2.jpgShared Files for Forum6497
installed_plugin.png
switch_skin_button.png
rs_example.png
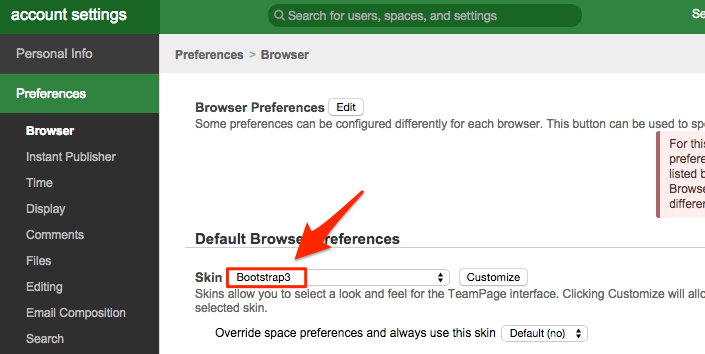
user_skin_setting.png
example_ipad3.png
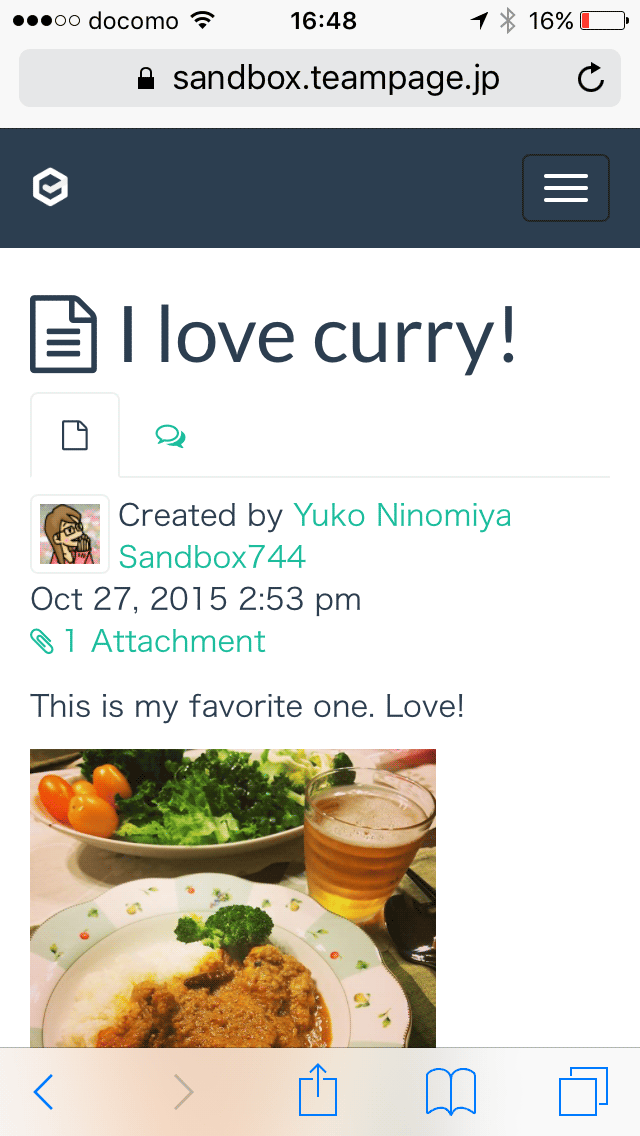
example_iphone5s.png
navbar_wide.png
navbar_narrow.png
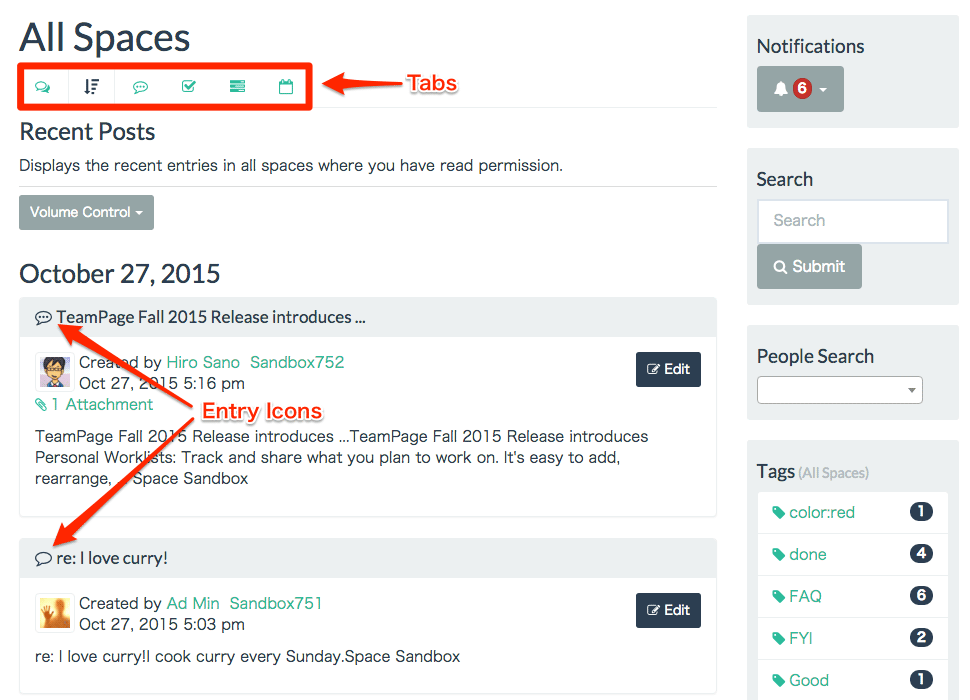
allspaces_tabs_icons.png
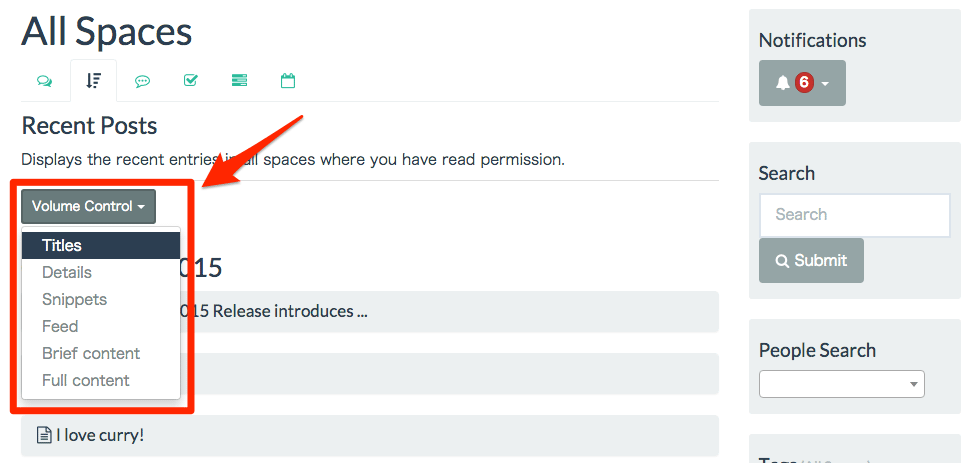
change_volume.png
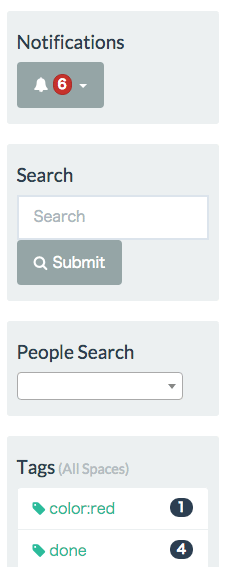
sidecolumn_boxes.png
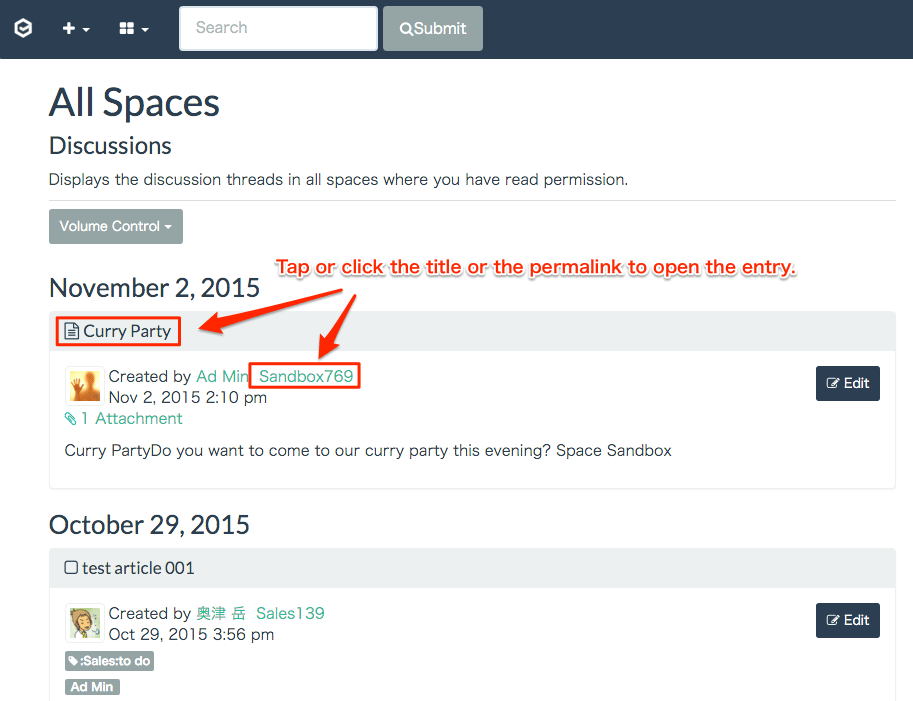
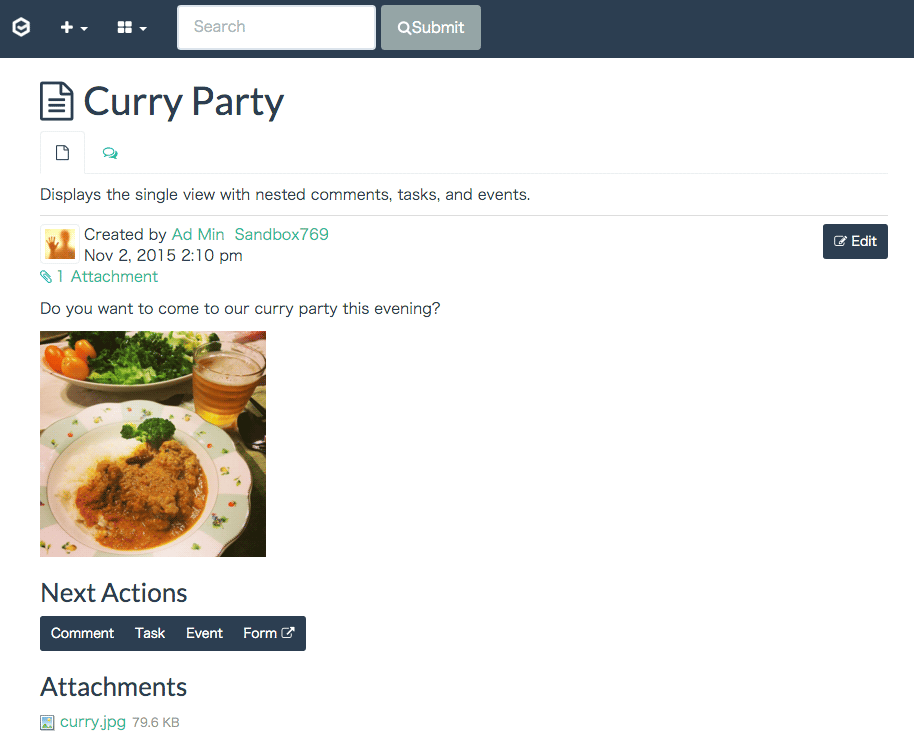
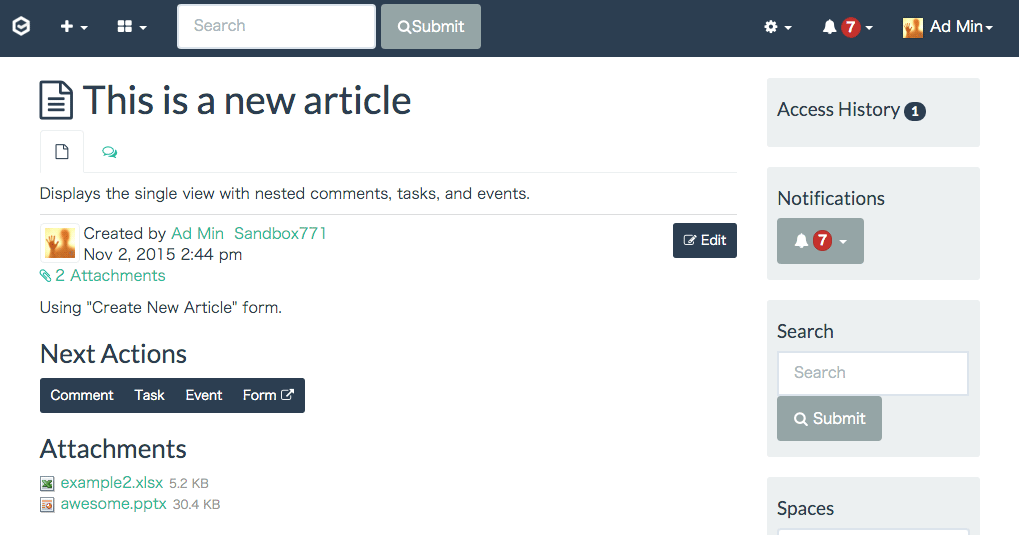
open_single_1.png
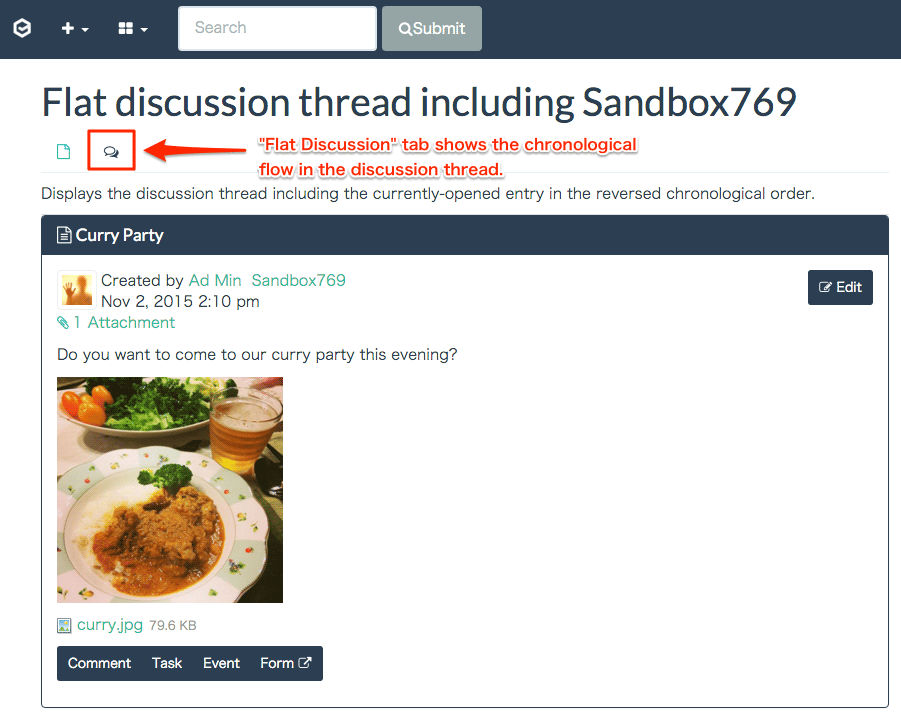
open_single_2.png
open_single_3.png
go_home.png
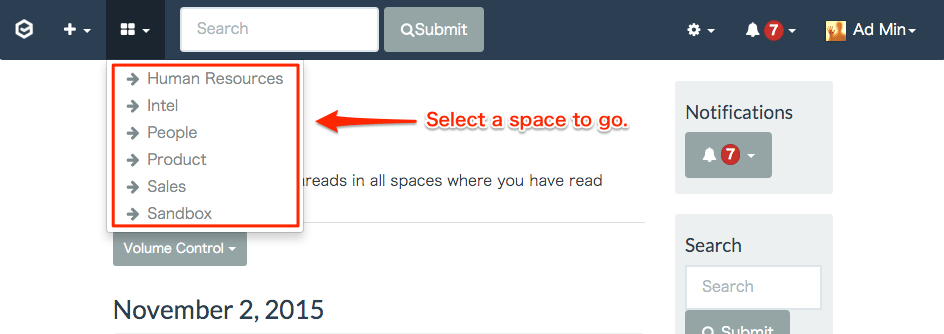
select_a_space_1.png
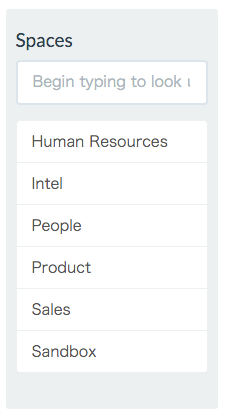
select_a_space_2_sidebox.png
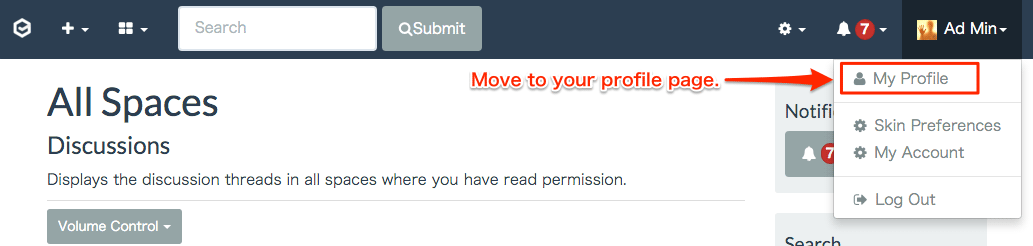
your_profile_page_1.png
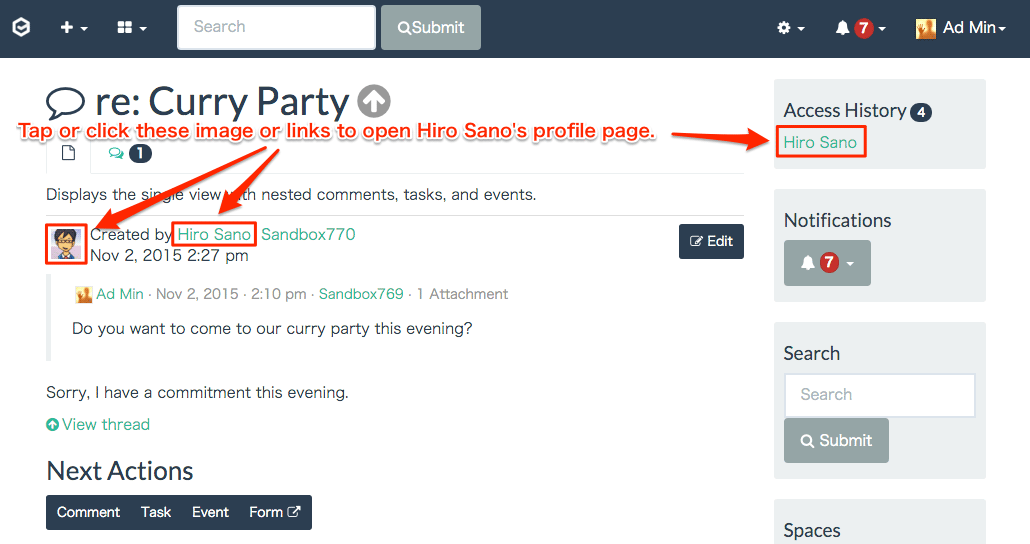
other_profile_page.png
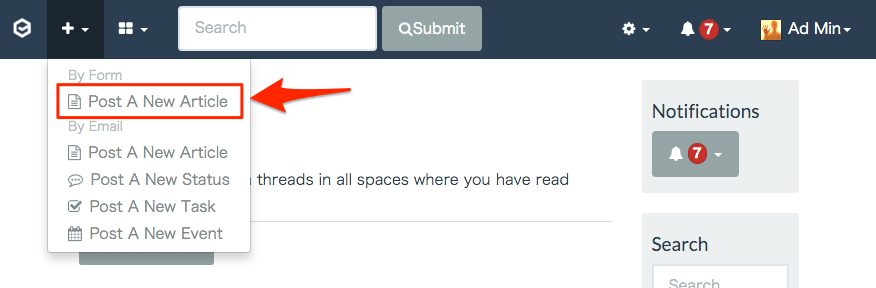
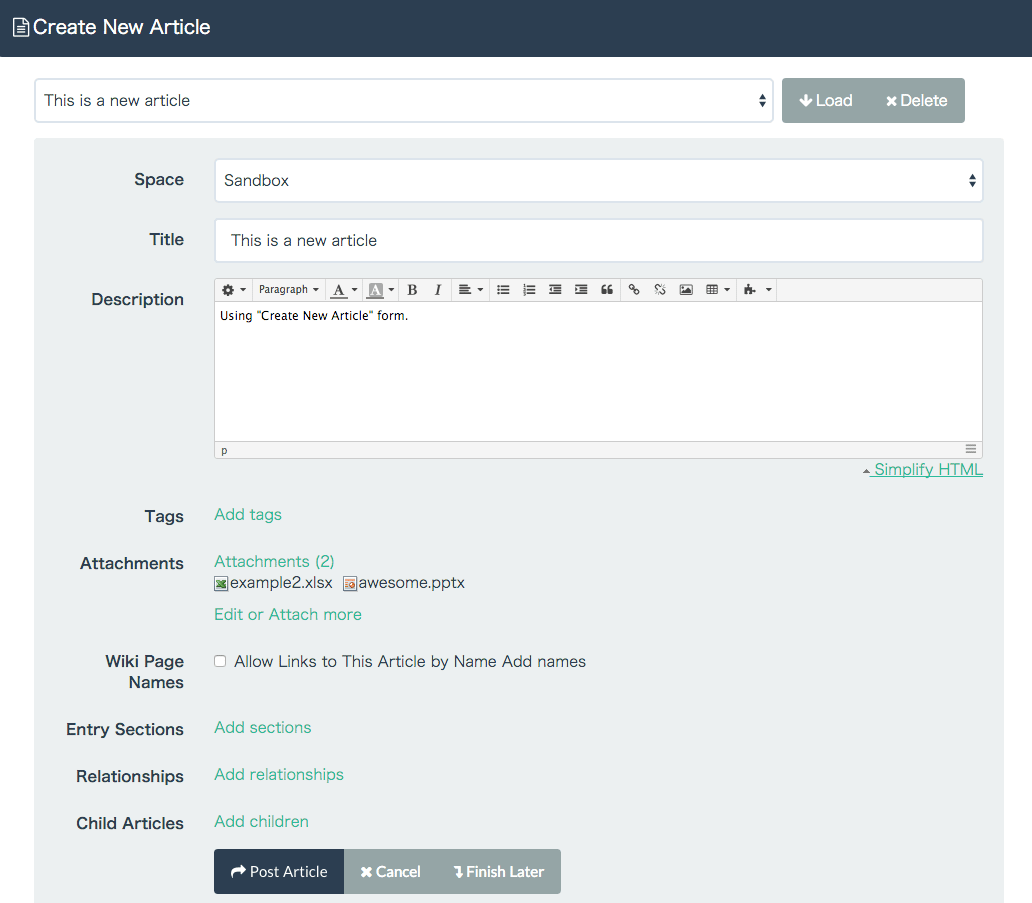
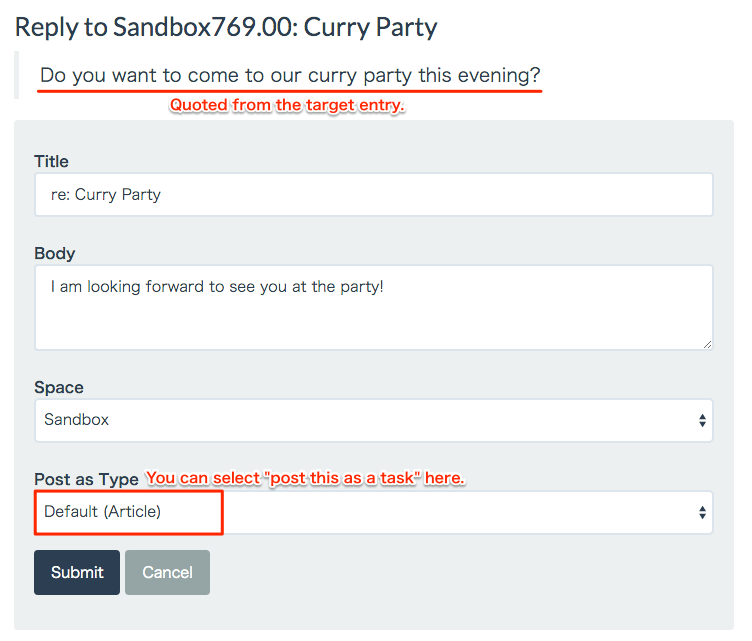
newentry_form1.png
newentry_form2.png
newentry_form3.png
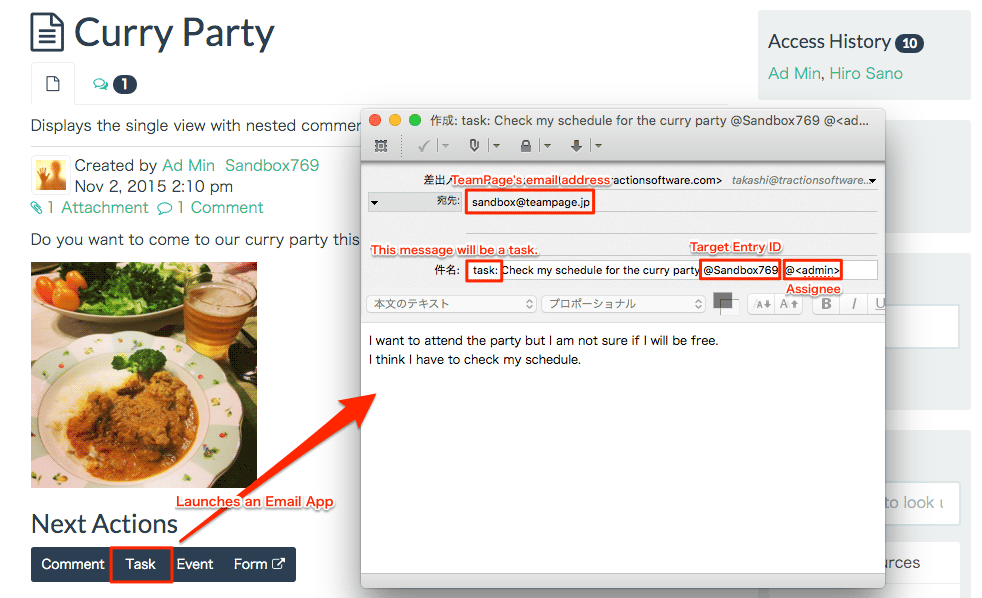
post_task_via_email1.png
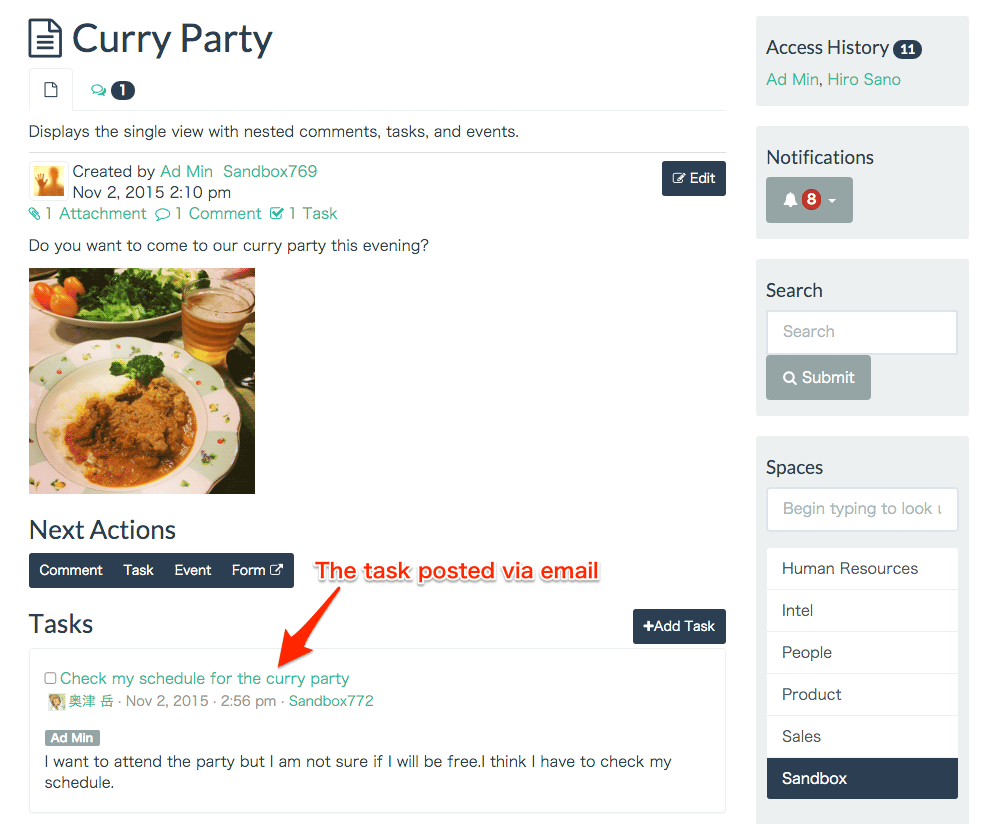
sandbox772_task_via_email.png
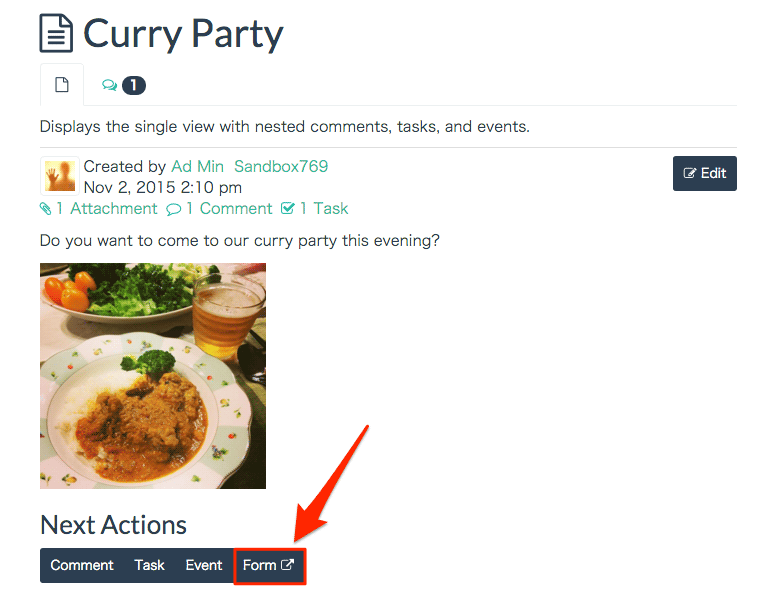
form1.png
form2.png
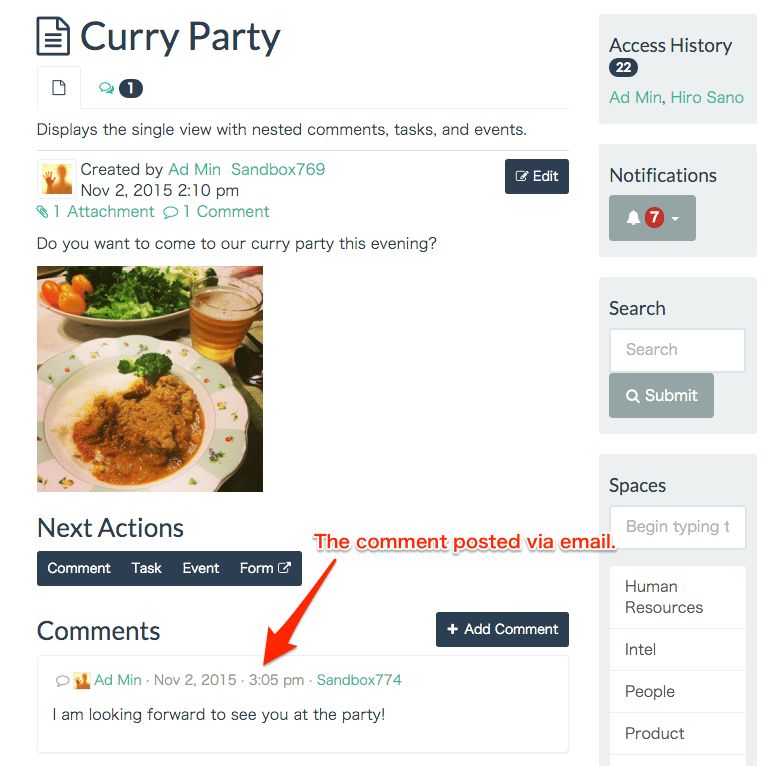
comment_posted_via_email.png
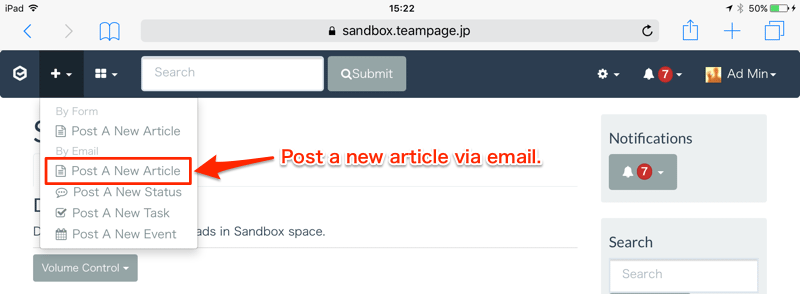
newentry_via_email1.png
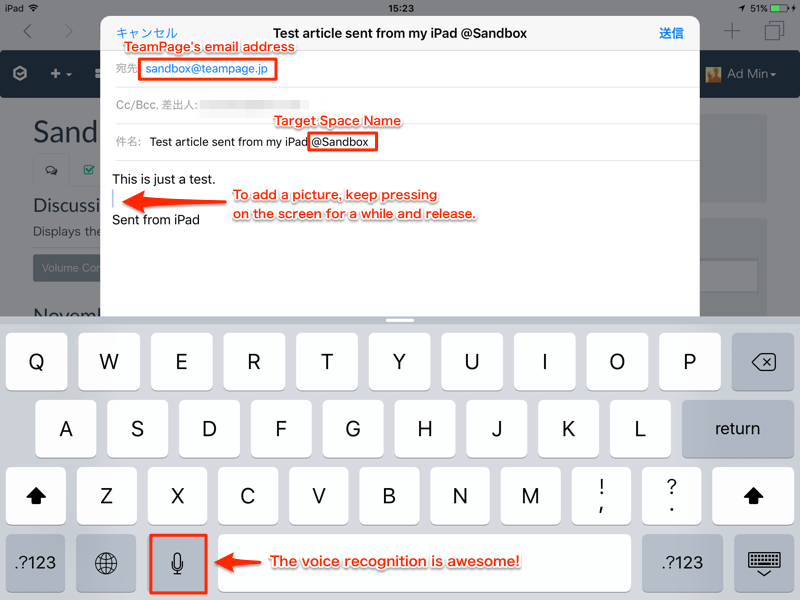
newentry_via_email2.png
newentry_via_email3.png