Once you do this, all users who have client certificates signed by this CA will be able to connect to Traction.
The instructions below explain how to:
1. Confirm you have a client certificate installed.
2. Export the certificate of the CA that signed the client certificate to your desktop.
3. Import the CA cert into Traction
4. Put Traction into HTTPS w/
Confirming you have a client certificate installed
These instructions are for Internet Explorer. Most browsers provide similar capabilities; see your browser's help for instructions.
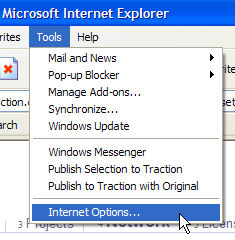
Select Internet Options from the Tools menu.
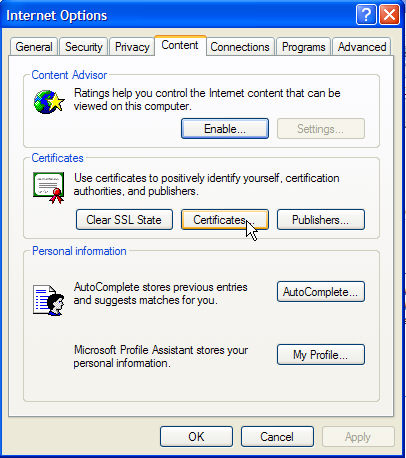
Switch to the Content tab and click the Certificates button.
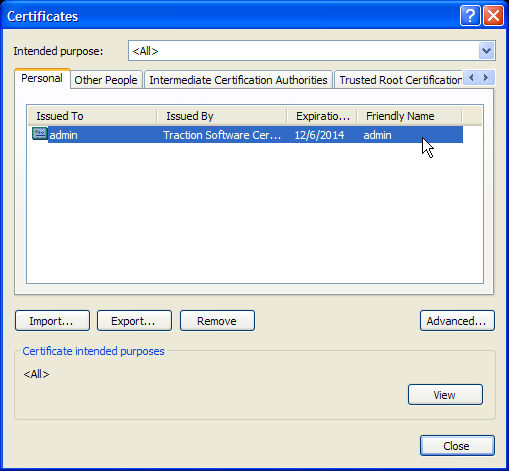
If one or more certificates is listed here, you can proceed. If not, stop! You don't have a client certificate and won't be able to complete the setup procedure.
Export the certificate of the CA that signed the client certificate to your desktop.
Important! Note: You do not want to export your own certificate; you must import the certificate of the CA that signed your certificate. Traction will allow you to import your own certificate, but it will not allow you to log in using that certificate!
Double-click your selected certificate in the list above. If you have multiple certificates, select the one signed by the CA you wish Traction to trust.
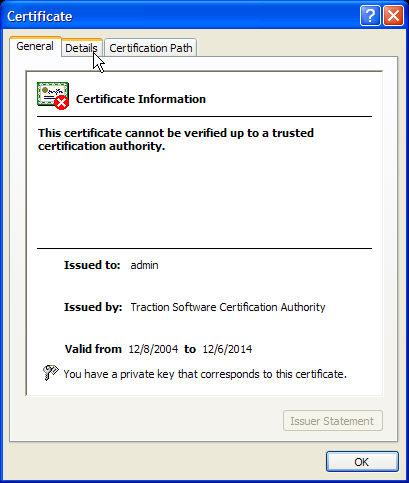
This will show your certificate.
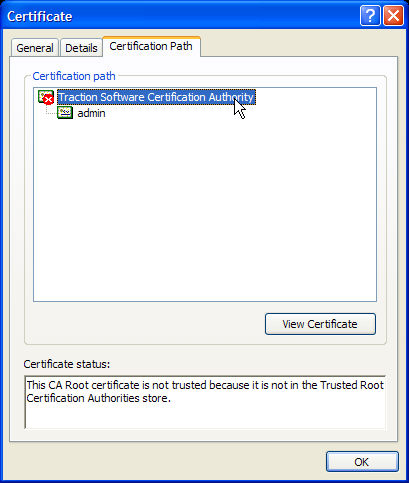
Click the Certification Path tab, and select the certificate of the signing CA. This is usually right above your certificate. This CA need not be trusted by the browser (indicated by the X), but it must be trusted by Traction to enable you to log in.
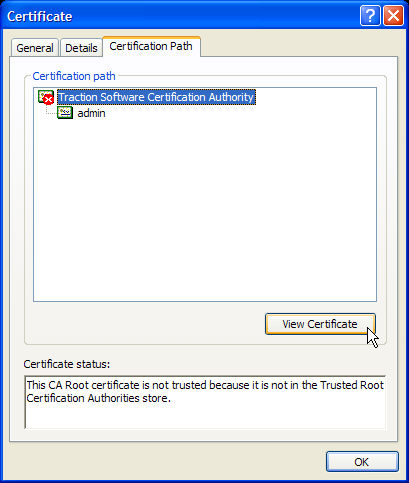
Now, with the CA's certificate selected, click the View Certificate button.
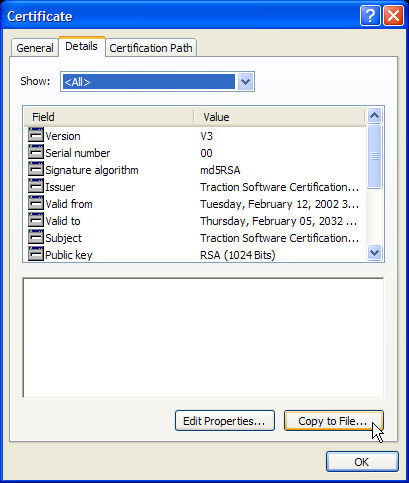
Click on the Details tab, and press the Copy to File button.
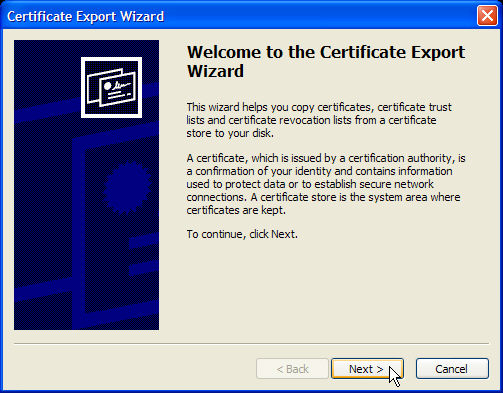
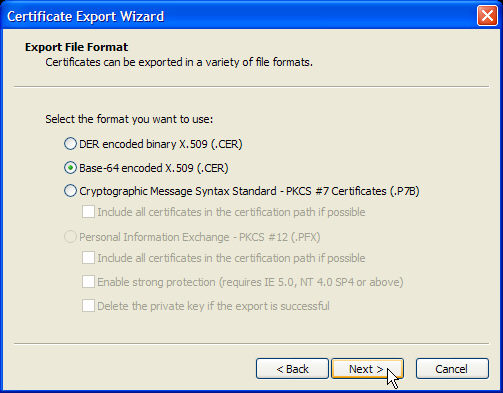
Click Next once the Wizard opens.
Choose the Base-64 .
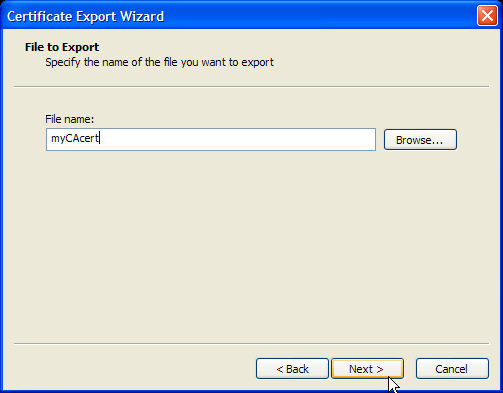
Choose a filename to which to save the certificate. You can delete the local file once the certificate has been imported into Traction.
After you have saved the file, you can close the Wizard and other Internet Options windows.
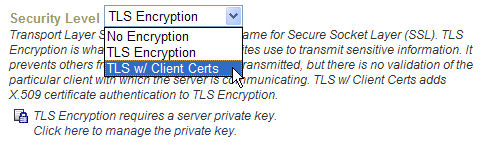
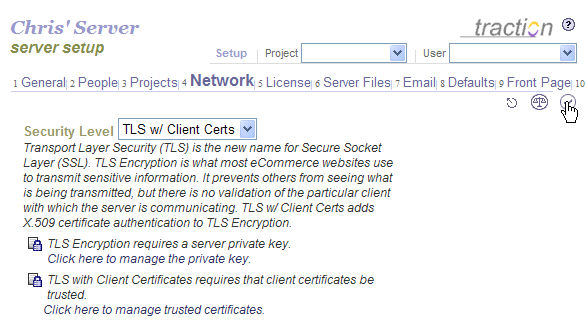
In Server Setup | Network, change the Security Level to HTTPS with Client Certs, but do not yet press Apply.
A second link will appear underneath, reading: "TLS with Client Certificates requires that client certificates be trusted.
Click here to manage trusted certificates."
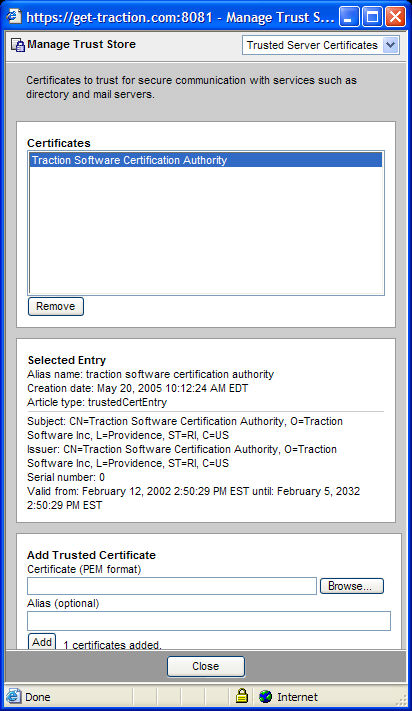
Click where it says, "Click here to manage trusted certificates." This will open the Manage Trust Store's Trusted Server Certificates interface. In addition to trusting client certificates, this interface is also used to trust secure mail servers and LDAP servers. For more information, see Overview of the Trust Manager.
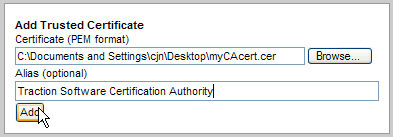
Next, in the Add Trusted Certificate section, browse to the file in which you saved the CA's certificate. You can type an Alias if you like. The alias is only used when interacting with the keystore using other Java tools like keytool.
Click the Add button to upload the certificate. The certificate's details will be displayed in the Selected Entry section.
Now that you have imported the CA's certificate, you will be able to login once you switch to TLS w/
Now when you try to connect to your server, your browser will ask you to select which certificate you would like to present. Any certificate signed by a CA trusted by Traction can be used to establish the connection.
HTTPS with Client Certificate setup is now complete. You can repeat this process to import as many CA certificates as you like.
Attachments:
image647.jpg
image648.jpg
image649.jpg
image650.jpg
image663.jpg
image664.jpg
image665.jpg
image666.jpg
image667.jpg
image668.jpg
image645.jpg
image773.gif
image646.jpg
image669.jpg
image670.jpg
image671.jpg
image673.jpg
Article: Doc93 (permalink)
Date: March 22, 2008; 3:57:30 PM Eastern Daylight Time
Author Name: Documentation Importer
Author ID: importer
Date: March 22, 2008; 3:57:30 PM Eastern Daylight Time
Author Name: Documentation Importer
Author ID: importer